VM server
| Project: VM server | |
|---|---|
| Featured: | No |
| State | Active |
| Members | Eagle00789, Danny Witberg, Da Syntax, Computer1up, Stuiterveer |
| GitHub | No GitHub project defined. Add your project here. |
| Description | VMWare server for ACKspace infra |
| Picture | |
| |
synopsis
Create a VMware server for hosting some of the core services:
current implementation
Current VM server can be accessed with virt-manager on 192.168.1.100.
If you're coming from the VPN connection, you (currently) need to add an extra tunneled connection to a real machine, for example, the labelprinter: ssh pi@192.168.1.161 -L 2222:192.168.1.100:22 (and change all references from 192.168.1.100 (port 22) to localhost port 2222.
You can connect remotely to the VM or LXC host via ssh, or using virt-manager -c qemu+ssh://ackspace@192.168.1.100:22/system or virt-manager -c lxc+ssh://ackspace@192.168.1.100:22/ respectively.
Install LXC
If you want to try LXC (and virt-manager) yourself (on debian/ubuntu versions):
apt install virt-manager lxc1 ssh-askpass
You might need the kernel setting unprivileged_userns_clone to be 1.
Also, you might want to set user and group mapping by creating a custom config by editing ~/.config/lxc/default.conf (directories might not exist).
# apply default config
lxc.include = /etc/lxc/default.conf

# user and group mapping
lxc.idmap = u 0 100000 65536
lxc.idmap = g 0 100000 65536
For managing ACKspace's libvert host, only virt-manager (with its dependencies) is needed.
create a new operating system container
NOTE/TODO: Application containers suck in the sense that they are not fully isolated from the host and will bring its networking down if the application is terminated.
To create an operating system container (in this case, the tiny Alpine Linux distro), ssh to the host:
ssh ackspace@192.168.1.100 -p22 (the password was mentioned 22-01-2021 ;)
Optional: make sure the user namespaces are enabled in the kernel (they are now)
cat /proc/sys/kernel/unprivileged_userns_clone
Create a 64 bit alpine 3.14 container (by downloading it automatically using the download template script) and name it everything except HENK
lxc-create -t download -n HENK -- -d alpine -r 3.14 -a amd64
You might get a GPG key from keyserver error; in that case, use another server like this:
DOWNLOAD_KEYSERVER="pgp.mit.edu" lxc-create -t download -n mqtt -- -d alpine -r 3.14 -a amd64
NOTE: this might be optional
Change ownership of the new filesystem's root
sudo chown ackspace:ackspace ~/.local/share/lxc/HENK/ -R
Important: Something something systemd mess. A console error (can't open /dev/tty1: No such file or directory) might occur (creating 60+ MB on logfiles).
Uncomment all 4 (or so) tty*::respawn:/sbin/getty.... references in vi ~/.local/share/lxc/HENK/rootfs/etc/inittab.
Now, in virt-manager:
- connect to the correct host
- click "New virtual machine"
- select "Operating system container", forward
- point to the LXC root fs:
/home/xopr/.local/share/lxc/HENK/rootfs - select your favorite settings (be gentle on memory and CPU), finish the wizard
- Currently, the init path will fail, use
/initially. This still needs to be addressed - run the container
- login to the console with username
rootand BAM, you're in.
The server is connected to fuse group A.
previous implementations
2018
Current VM server can be accessed with vSphere client 5.5 on 192.168.1.100. If you're coming from a (reverse) tunnel, don't forget to forward port 443 and 902 and add a hosts entry like 127.0.0.1 esxbox because else VMware will do an IP->host->IP lookup which will fail
2016
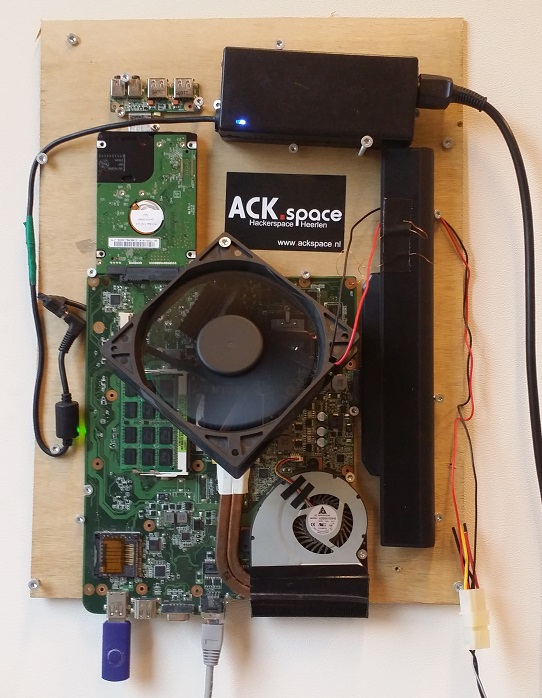
The result is an artsy wall-mount laptop PCB (with "UPS")
2014
Introduction
VMWare and virtual computing in general had many benefits over a physical server farm. One VMWare host can accomodate multiple virtual servers. Shared resources means better use of the actual hardware. In a cluster of hosts, several automation processes can be achieved such as auto restart upon failed VM, and automatic recovery after a failed host. To experiment with such a system, you will have to have a minimum of 3 host servers, and a shared storage system or datapool. My goal with this project is to set up the hardware in a mini 4U cluster system.
PRO TIP: The HP DL360G5 servers used in this project can be obtained extremely cheap. The reason for this is that they drop out of virtualisation clusters by the masses. A server gets rebooted and don't get it back into the cluster pool. It gets decommissioned and the secondhand market is flooded with these servers. The reason they don't get it back into the cluster is the reset of a BIOS option: The no-execute bit of the CPU is set disabled by default, while it is required for a virtualisation environment. Solution: Replace the BIOS battery, a normal CR2032. I had to replace these on all four servers I got for this project, and they are all running like a breeze right now. I got two of my servers for a mere 60 euro's, with dual 2.66GHz quadcores and 16GB of memory installed!
The hardware
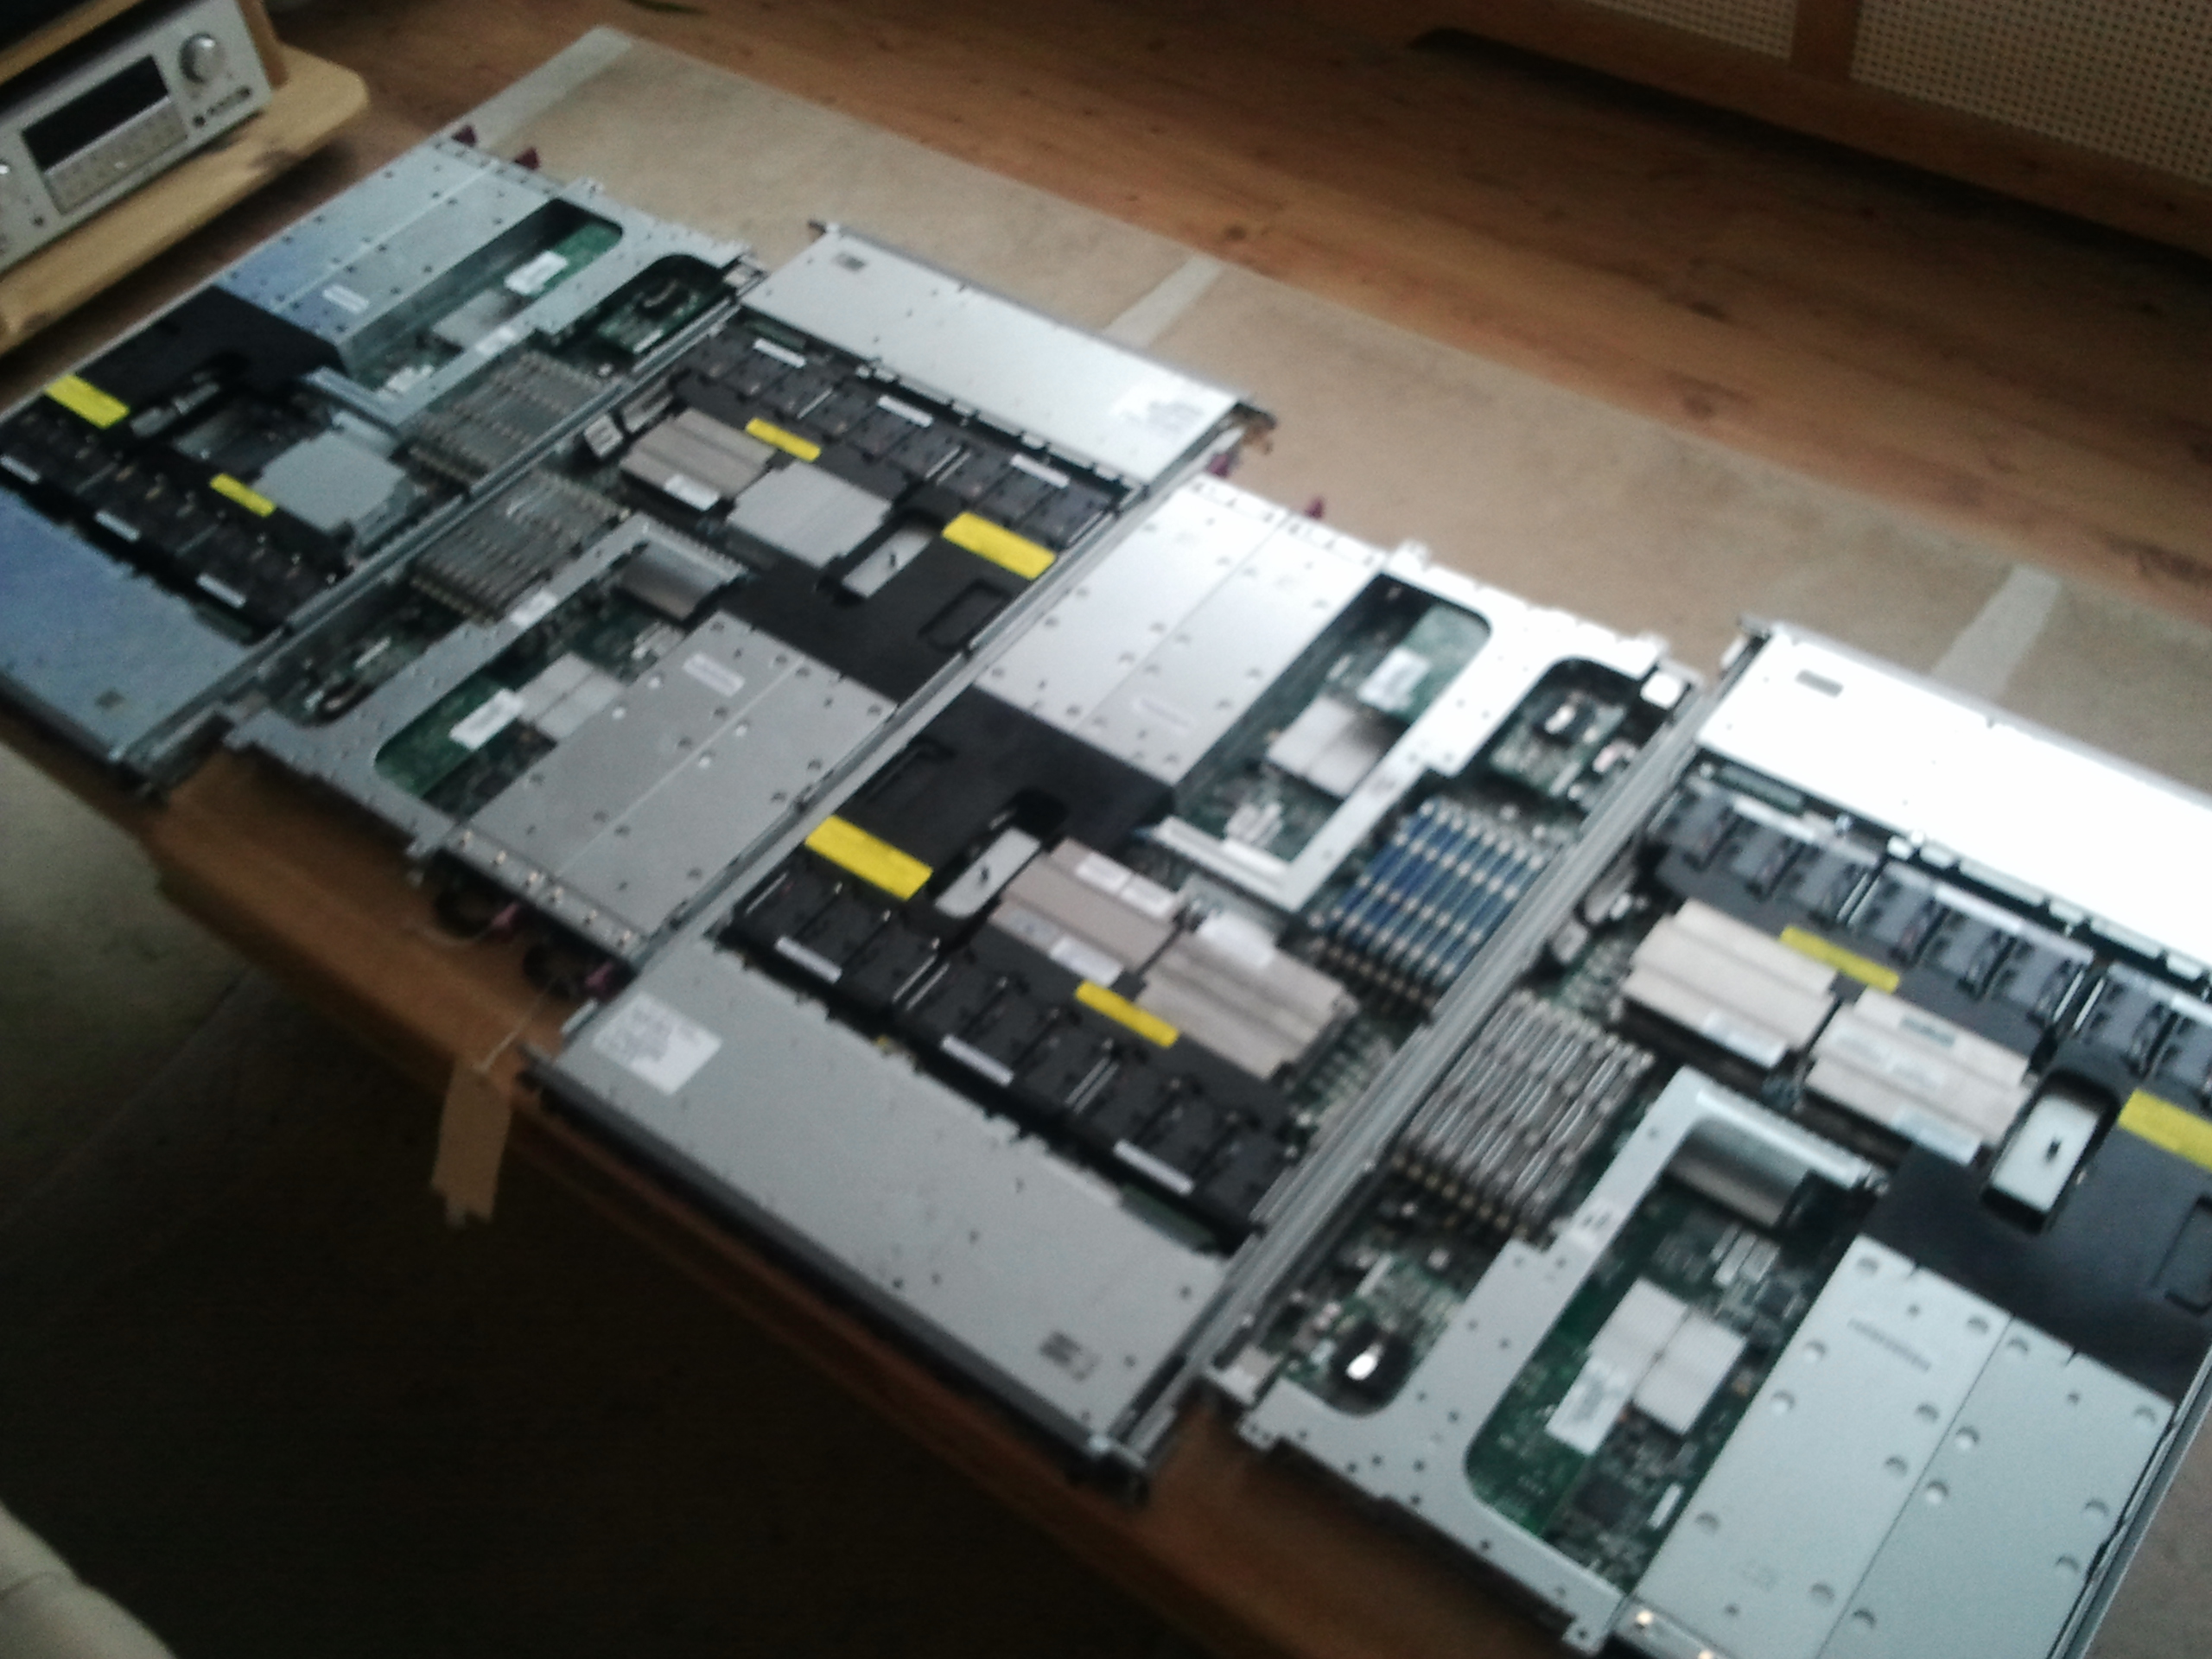
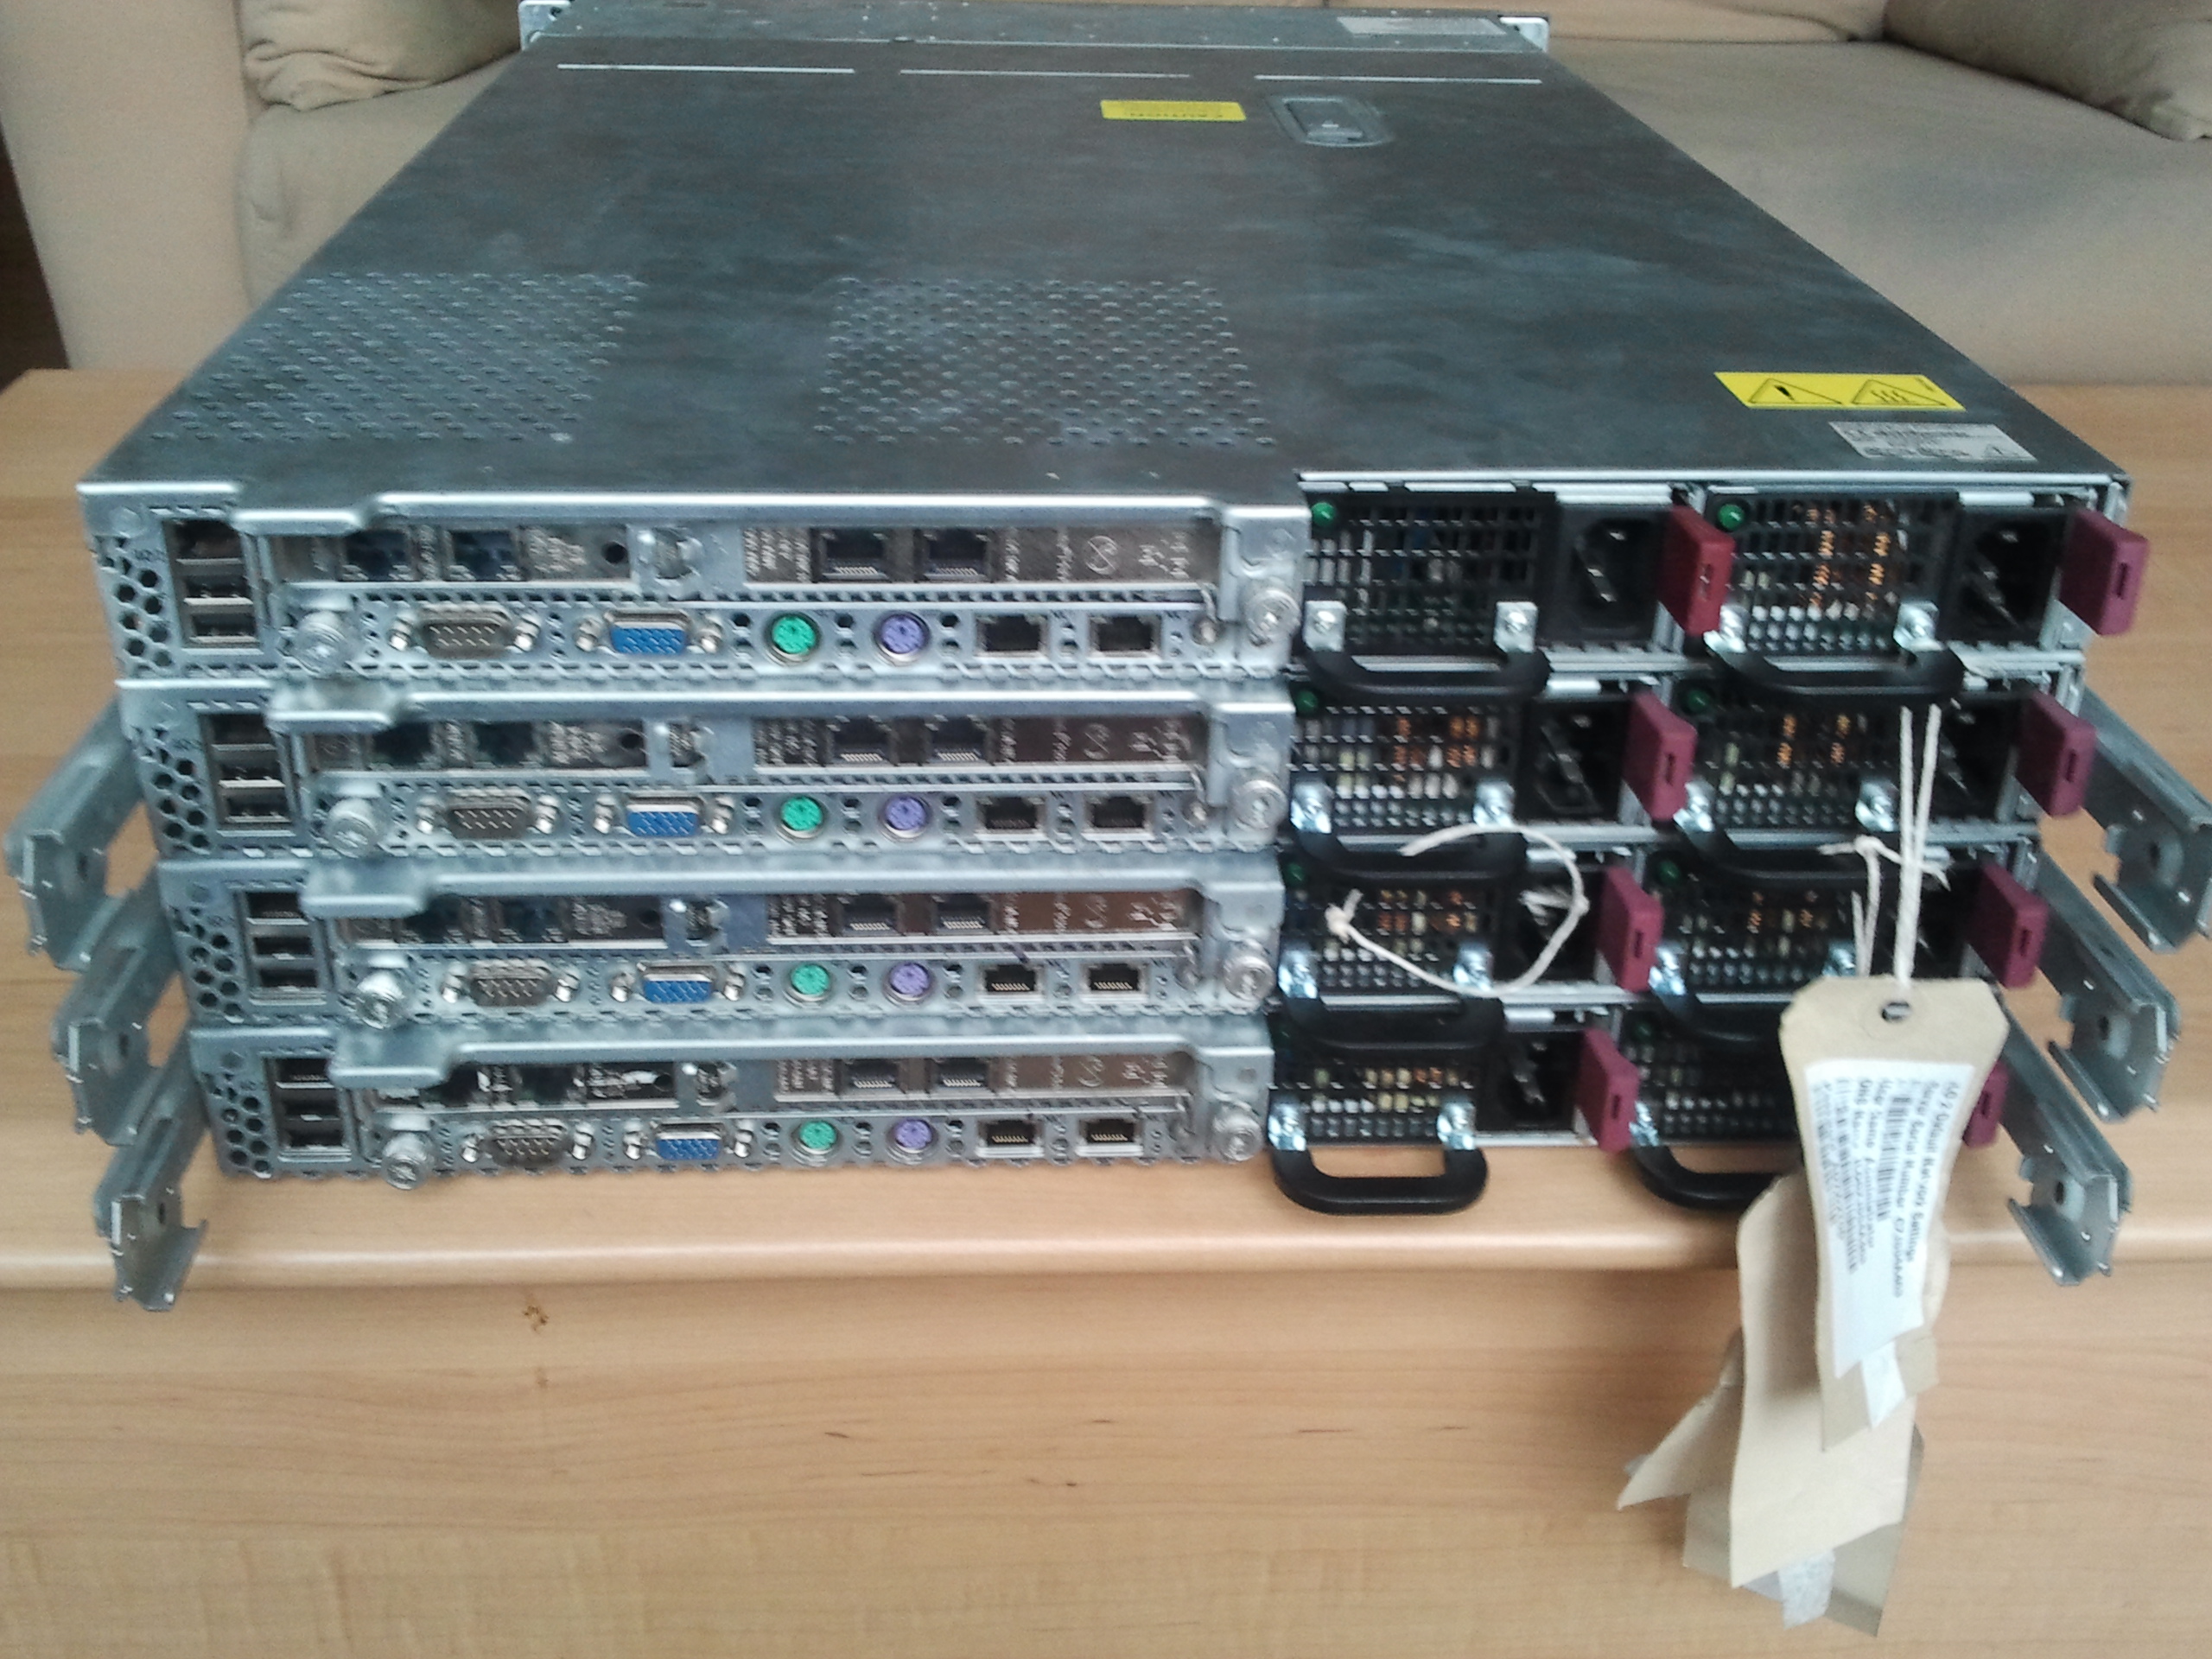
The cluster is comprised of 4 HP DL360G5 1U servers. They are fairly cheap to come by, can easily be upgraded and are compact. This is an overview of the 4 systems:
1) DONE
- Hardware platform: HP DL360 G5
- CPU: 2x Quadcore Xeon E5430 2.66GHz 64 bit 12MB cache
- Memory: 26GB PC2-5300F ECC Fully buffered memory
- Harddisk: none installed
- Network: 2xBCM5705 gigabit Ethernet with offload engine + 2x dual gigabit Intel PRO1000PT
- Power: 2x 700W hotswap power supply
- Optical drive: DVD/CD rewriter
- Management port: ILO2 100Mbit Ethernet
- Boot disk: 16GB USB stick
2) DONE
- Hardware platform: HP DL360 G5
- CPU: 2x Quadcore Xeon E5430 2.66GHz 64 bit 12MB cache
- Memory: 26GB PC2-5300F ECC Fully buffered memory
- Harddisk: none installed
- Network: 2xBCM5705 gigabit Ethernet with offload engine + 2x dual gigabit Intel PRO1000PT
- Power: 2x 700W hotswap power supply
- Optical drive: DVD/CD rewriter
- Management port: ILO2 100Mbit Ethernet
- Boot disk: 16GB USB stick
3) DONE
- Hardware platform: HP DL360 G5
- CPU: 2x Quadcore Xeon E5420 2.5GHz 64 bit 12MB cache
- Memory: 26GB PC2-5300F ECC Fully buffered memory
- Network: 2xBCM5705 gigabit Ethernet with offload engine + 2x dual gigabit Intel PRO1000PT
- Power: 2x 700W hotswap power supply
- Harddisk: none
- Optical drive: DVD/CD rewriter
- Management port: ILO2 100Mbit Ethernet
- Boot disk: 16B USB stick
4) Pending...
- Hardware platform: HP DL360 G5 DONE
- CPU: 1x Quadcore Xeon E5405 2GHz 64 bit 12MB cache DONE
- Memory: 22GB PC2-5300F ECC Fully buffered memory DONE
- Network: 2xBCM5705 gigabit Ethernet with offload engine + 2x dual gigabit Intel PRO1000PT DONE
- Harddisk: 3-5x SATA 500-1000GB 7200RPM 2.5inch drive + 256GB SSD <-- Still open for suggestions
- Power: 2x 700W hotswap power supply DONE
- Optical drive: CD rewriter DONE
- Management port: ILO2 100Mbit Ethernet
- Boot disk: 64B USB stick DONE
This gives us a combined total of 62,56 GHz CPU power and 78GB of memory for VMWare! The storage unit also has plenty of memory (22GB) for ZFS caching.
Upgrades
Upgrades: Memory upgrades can be from 6x4GB+2x1GB = 26GB to a configuration of 8x4GB=32GB. I believe it's best to keep the storage server on a fast dual core CPU, like 3,7GHz, because the file server process is mostly single thread. For now it will run on a 2GHz quadcore. 22GB should be plenty to run a good ZFS system to host all VM data storage with iSCSI connections.
Interconnects
All four systems are planned with 6x gigabit ethernet hooked up to 2 Dell Powerconnect 5324 switches. Two of the gigabit can be used for the iSCSI connection, two for the VM's connection, and two for the shared vMotion/management interface. The host OS for the iSCSI server is still undetermined, but it has to support ZFS with ZIL and L2ARC capabilities at good speeds. Hopefully an SSD drive will be a positive influence to the fileserver's speed.
ZFS storage terminology
The ZFS file system is an advanced modern file system used when data has to be secure, fast available and efficient. There are a number of things that can speed up read data access that ZFS uses in terms of caching. First of all it tries to use RAM as a cache. This is called L1ARC (level 1 adaptive replacement cache). RAM memory is the fastest available storage in the computer, and the ZFS system will try to use this to speed up read access. If some portion of data is accessed a lot, it places this in RAM to be extremely fast. If data is not cached in RAM, it has to revert to the storage disks. The L2ARC places a layer between these, and can contain very fast storage disks compared to the storage disks, but slower than the RAM. This used to be very fast SCSI disks, but nowadays SSD drives are preffered due to the very low access latency.
If data has to be stored onto a ZFS system, basically is has to write to the disks and will be bound to the speed of those disks. The ZIL or "ZFS intent log" can speed up this by caching the write transactions onto the cache. Often this is a RAM disk, or an SSD drive. If the ZIL is full, the ZFS system commits this data to the storage disks.
With ZFS we can set up sparse volumes. This means a volume can be advertised to the ZFS client at a different capacity than it really is. Lets say, I have a 2TB storage pool available, but I advertise it as a 4TB size volume. When data is filling up the 2TB storage to almost full capacity, additional storage space can be added to the volume without expanding the volume.
Another neat feature is deduplication. When the same data is stored multiple times, the file system can recognise this and only store this data is single time, with multiple references to this. However, this feature can consume a great amount of RAM.
Initial testing
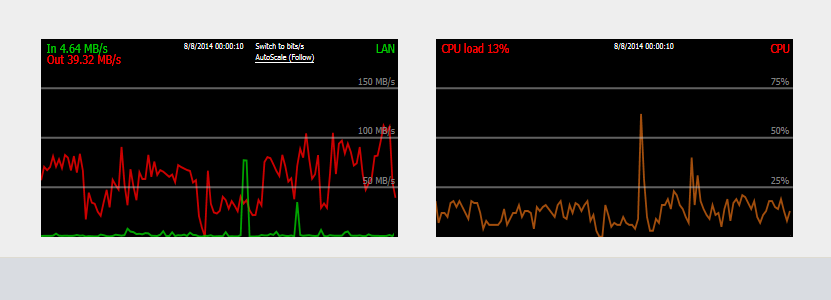
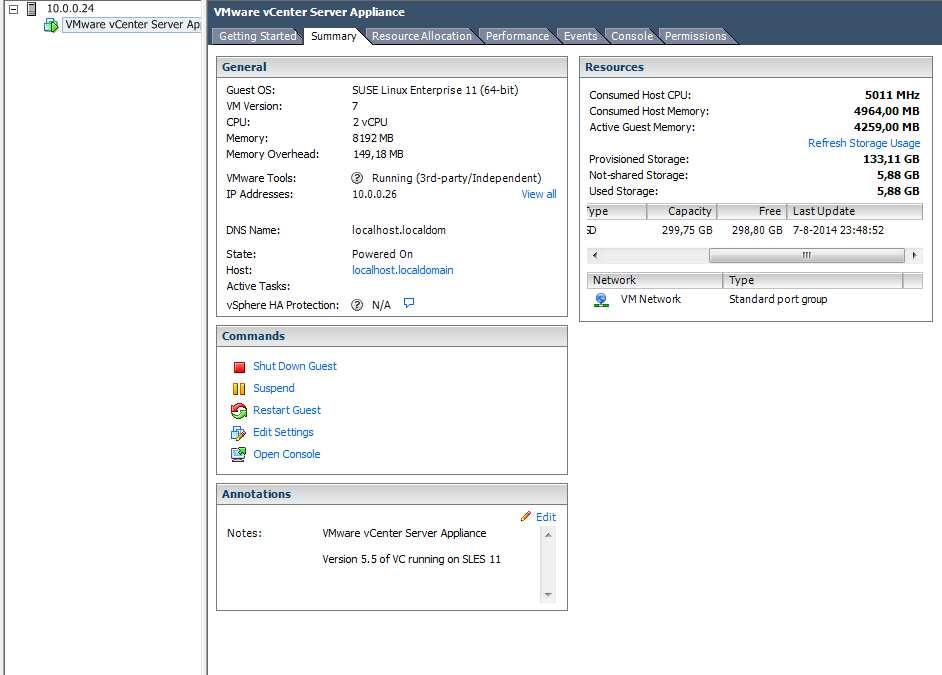
For an initial test, the ZFS server is set up with NAS4free, a ZFS pool is added, and a CIFS share and a iSCSI target is attached to the ZFS. On one VMWare ESXi host, the vCenter appliance is installed. It all works remarkably well! The CIFS share is pulling around 65MB/s, being the maximum of my desktop hardware (yes slow harddrive) with no noticable congestion on the iSCSI side. The used memory of the storage is about 44% of caching activity. It seems the NAS4free system is truly multithreaded, because load is divided onto all 4 cores. Of course the SMB and the iSCSI process is single threaded, but it gets divided all onto seperate cores.
NAS4free configuration
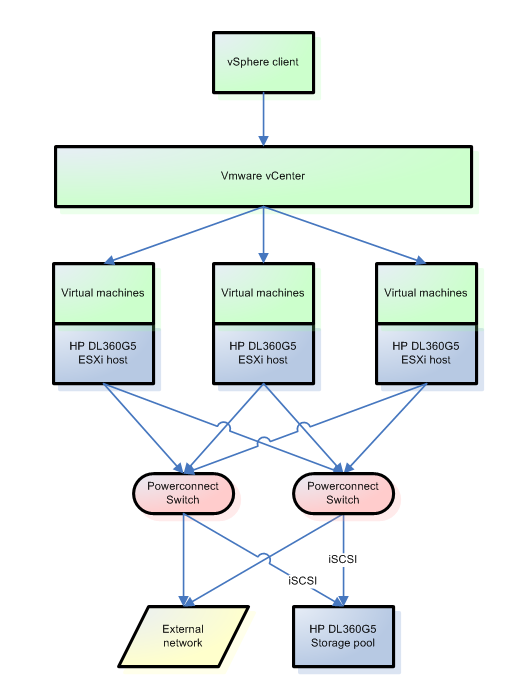
Setting up NAS4free as an iSCSI target is fairly simple, once you understand the basics. First of all, you'll have to set up an ZFS volume, since this is the underlying storage system we want to use for iSCSI. An ZFS volume can be created from a ZFS pool, which in itset can contain one or more ZFS Virtual Devices or "vdevs". A vdev can be purposed for storage as well as caching, it being a ZIL (Log) or L2ARC (Cache). For storage, a number of options can be configured. A stripe (RAID0 for non-ZFS people), a mirror (RAID1) and a number of distributed parity options being RAIDZ1 (RAID5), RAIDZ2 (RAID6) or RAIDZ3. Also, standby drives can be appointed as Hot spare. Once you've set up a ZFS volume, it can be referenced by an iSCSI extent. From this extend, you specify an iSCSI target. In a diagram, this all looks like so:
Performance enhancements
There are a number of things we can do to increase performance.
- Storage performance: Speed increasement is the primary goal. As mentioned, an SSD could be added to the ZFS pool to increase read performance. But when data has to read from disks, we are pretty much depending on some 2.5 inch harddrives. Since 10K or 15K RPM SAS drives at higher capacities are hugely expensive, SATA drives have to be used. Those laptop drives are generally not made for 24/7 usage, so choices become very limited. Western Digital are offering 2 drives that meet our needs: 2.5 inch form factor, designed for 24/7 NAS. The WD10JFCX offers 1TB of storage space, while the WD7500BFCX has 750GB of space. Since the price difference is so small, the 1TB version can deliver 4TB when used in a 5 drive RAIDZ1 configuration. Because of the ZFS sector size, a RAIDZ1 vdev delivers optimal performance when used as a 3, 5 or 9 drives set. Also, these drives can be formatted in the new 4K sector advanced format for less overhead. Traditionally, usage of compression algorithms meant a speed decreasement, but with a quadcore Xeon processor, it could actually mean an improvement. Because less data has to be read from those relatively slow spinning disks, the time it costs to compress and decompress can be compensated. The LZ4 compression is very fast, and is implemented in the ZFS filesystem. The additional benefit of increased storage capacity can be considered a bonus.
- Also the access to the storage is very important with a VMWare cluster. If the storage can not be accessed anymore, the virtual machines can no longer function, or worse: go corrupt. In a common cluster system this is compensated by using more than one physical path to the storage. A number of links can be set up, over multiple network connections, and the ESXi host can choose one of them to communicate. If that connection fails, the host can automatically fall back on to the remaining connection(s). This is where the multiple NIC's in the host comes in play. Two of them can be dedicated to storage access, over multiple physical NIC cards would be the best idea.
2011
The VMWare Server will use ESX(i) for learning purposes. Inside the VMWare Server a server can be created on wich can be experimented in all sorts of stuff you want to try out.
Here are the specs of the server:
- Pentium 4 with HT
- 4608 GB Ram
- 2x 80 GB Storage
- ESXi 4.1 Update 1
If you need a virtual server, please ask the project-owner.
4-3-2011
The server has been installed with ESXi 4.1 Update 1 and can be placed in the serverrack The first virtual-server will be made by me and will be running a testserver to see if i can create a website for communication with the ESXi Server itself.
7-3-2011
The server has been placed in the rack and is currently undergoing some tests.


